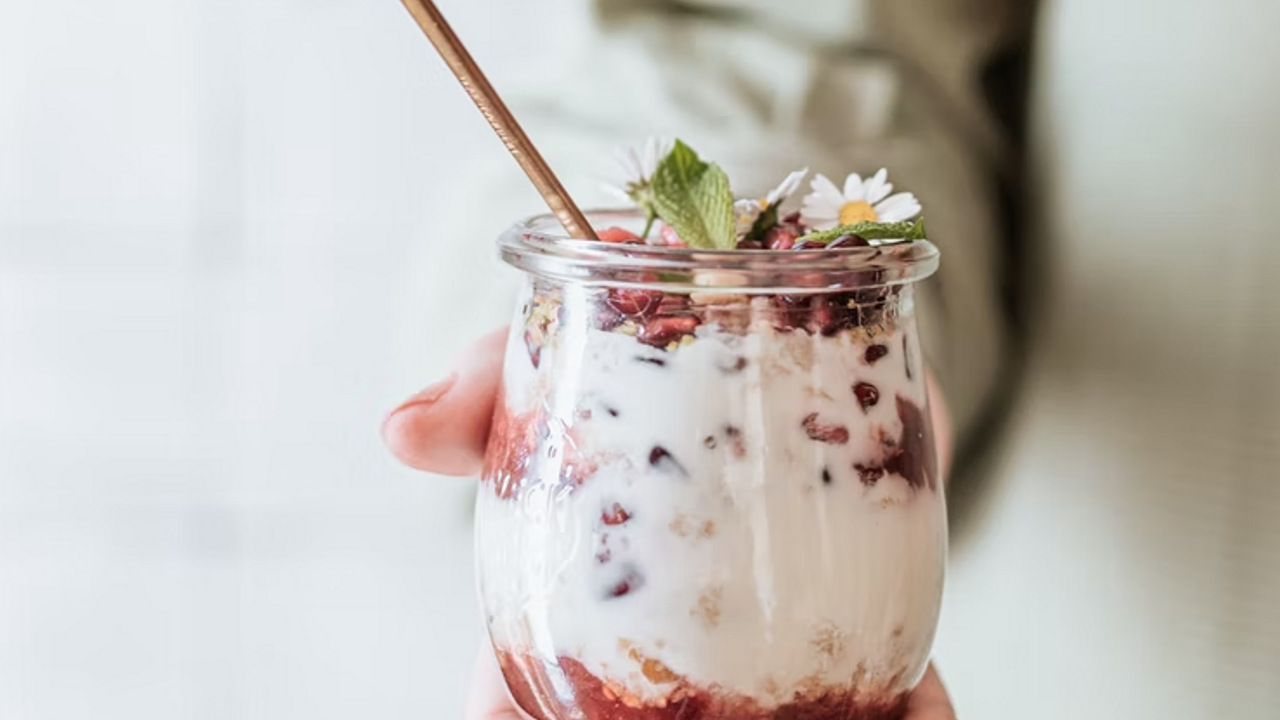
Ayurveda Yogurt Recipe
Jun 20, 2022
Ayurveda Yogurt Recipe
-
3 cups raw Organic whole Milk
-
With either 1) “yogurt starter” powder ½ tsp, or 2) 2 Tbs plain yogurt (from last batch you made), (You can either use 2 tablespoon out of this “old” yogurt to make your next batch, but the quantity of the beneficial microbes decreases each time or the fresh “yogurt starter” powder. You should never continue this method beyond the third or fourth time, unless using “heirloom” varieties which remain viable for up to 40-60 uses depending upon strain used. Always best to use fresh “yogurt starter” powder each time if you can afford it. Always use specially bought yogurt “starter” when you can, esp. with 1st bulgaricus microbes or 2nd acidophilus microbes, 3rd bifidus, heirloom varieties are best and can purchased from the center or online)
-
1 Quart-size or 3-cup size glass mason jar with lid
-
Food thermometer helps if you have it (you can use it to check the temperature once cool so you know you will not burn the probiotic microbes.
Cooking Method
1. In a medium sauce pan heat the milk on high heat. Bring to a roaring boil, when it rises up take it off the heat to avoid over flowing, once the milk subsides (few seconds) return to the heat, boil it again and let it rise up. Do this 4 times. After the 4th and final time take it off the heat.
2. Let it sit for approximately 30 minutes until it is just very warm to the touch but not so warm it would kill the delicate microbes (about 108-112 degrees Fahrenheit).
-
If you are using a glass mason jar, once it reaches the cooled temperature, pour it into the glass mason jar after removing the milk “skin” at the surface (which you can use to wash your face and reduce wrinkles).
-
If you are using a yogurt maker, pour it in to the glass yogurt maker jar and keep it in the yogurt maker.
3. Add your yogurt starter of choice and mix gently but thoroughly using a small whisk until all clumps dissolve.
4. Ferment your yogurt in a warm spot (either yogurt maker or warmer drawer of oven – SEE BELOW) which maintains a temperature between 108-115F.
If you do not have a yogurt maker:
1. Pour it into a glass mason jar with lid, Turn the oven warmer drawer to lowest possible setting.
2. Place fabric pot holder inside of oven warmer to protect bottom of yogurt from burning.
3. Place yogurt mason jar standing upright on top of pot holder and cover jar and warmer drawer opening with bath towel.
4. Close door as much as you can to keep heat from leaving
5. Leave it alone for 4 hours and check to see if it has thickened. Warmer drawers kept at the 115F mark will ferment quickest, in as little as three hours. However, less cool drawers will take 6-8 hours.
-
The yogurt should be thick and there should be a little water floating on top. It should taste sweet, sour and astringent (dry taste that makes your lips smack) at the same time.
-
Once its finished, reserve the amount you will use for that day so the probiotics remain teaming and fresh.
-
Then, place the lid back on and place in your refrigerator to stop the fermentation process.
-
Keep it refrigerated.
-
Use it within 3 days.


